Guidelines for Room Scan
Before You Start
Please ensure the following:
-
Your desk is clear (no papers, books, phones, or any unpermitted resources).
-
You are in a private room with no other people present.
-
Your space is well-lit so your camera can capture your surroundings clearly.
-
Move slowly and steadily during the scan and avoid blocking the camera’s view — this helps the system read the room accurately.
Step 1 — Show the Room
-
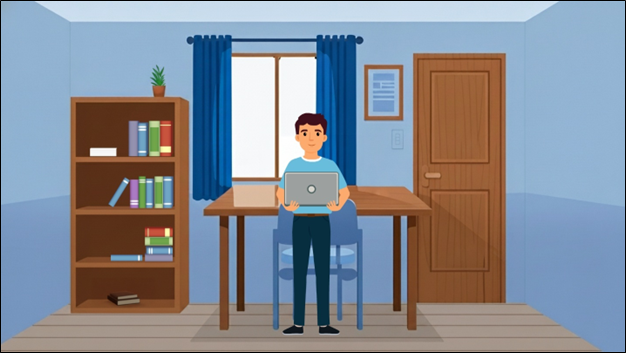
Hold your laptop securely.
-
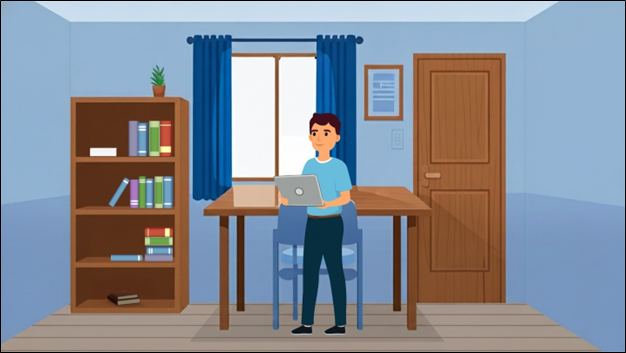
Slowly rotate your laptop to show each side of the room (a full 360° scan, starting from your left, works best).
-
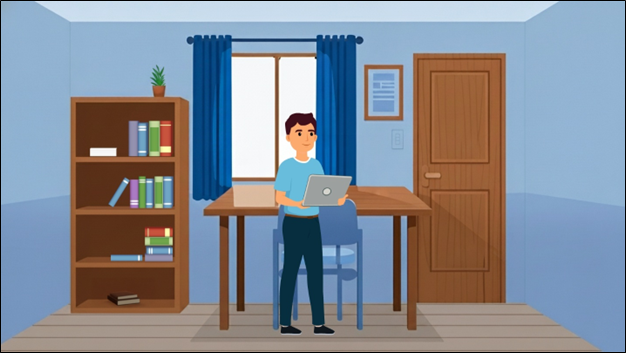
Slowly rotate your laptop towards the right side of your room.
-
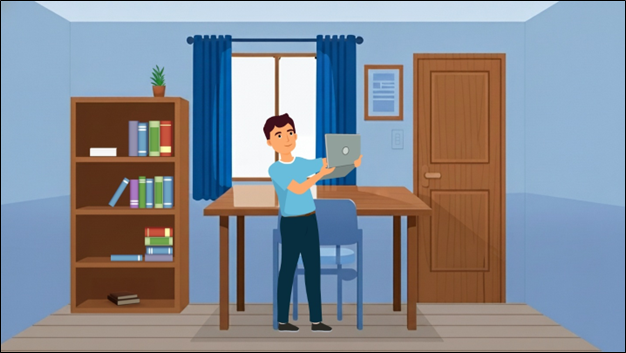
While rotating, gently tilt the camera up to show the ceiling and down to show the floor along each wall.
Step 2 — Show Your Workspace
-
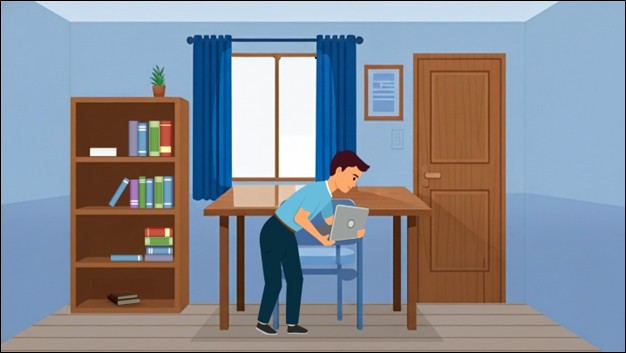
With the laptop still in your hands, angle the camera to show the entire desktop surface, including all corners.
-
Lift the laptop slightly to show under the desk and the floor area around your seating position.
Step 3 — Return to Testing Position
-
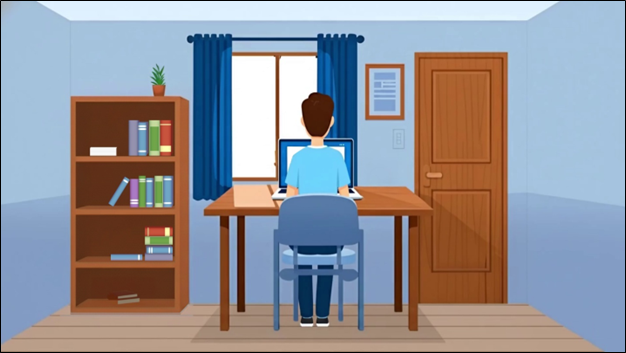
Place your laptop back on your desk in a stable position.
-
Make sure your face is clearly visible and centered in the frame.
Additional Tips:
-
Ensure adequate lighting in the room.
-
Remove any study materials, electronic devices, or notes from the visible area.
-
Avoid having other people in the room during the scan and assessment.
-
Make sure your internet connection is stable before starting.
Need help? Watch video