Exam Day Checklist
-
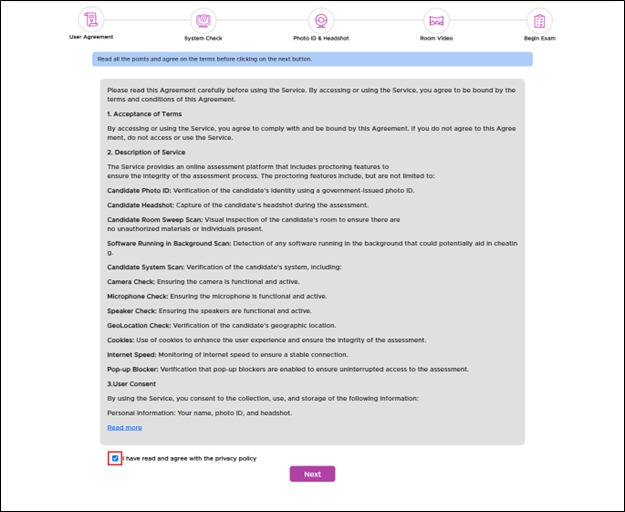
Click the Start Assessment button to navigate to the User Agreement page.
-
Before proceeding, candidates must read and accept the disclaimer agreement presented on screen. The Next button will remain disabled until the candidate checks the acceptance box confirming they have read and agreed to the terms. Click Next to navigate to System Requirements screen.
-
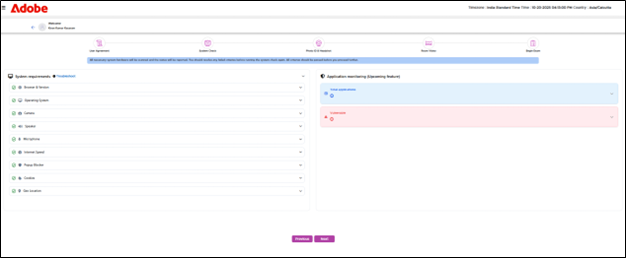
Candidates are shown a list of prerequisite checks that must be reviewed before starting the assessment. This process helps ensure the system is fully compatible and ready for a secure assessment experience.
-
Click on the Next button to navigate to the Photo ID & Headshot verification screen.
-
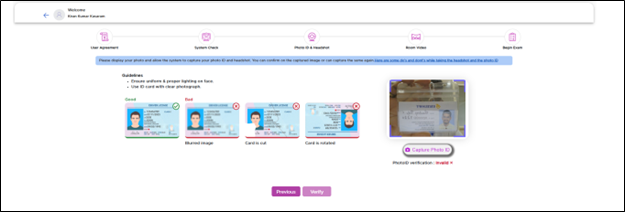
First, you need to show your Photo ID and allow the system to capture your photo.
-
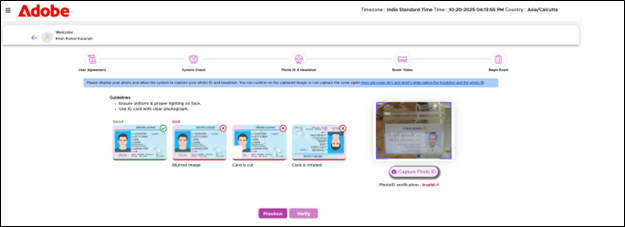
Click on Capture Photo ID and the image will be captured. Redirecting back to the headshot and photo id screen, you need to capture the headshot.
-
Click on the Capture Headshot and the image will be captured.
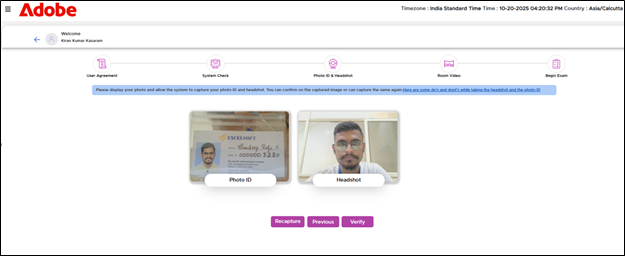
• Here you can view the photo ID and Headshot captures.
• When you click the Verification button, the system navigates to the verification screen, displaying the ID status along with the extracted ID details. You can refer to the image below for visual guidance.
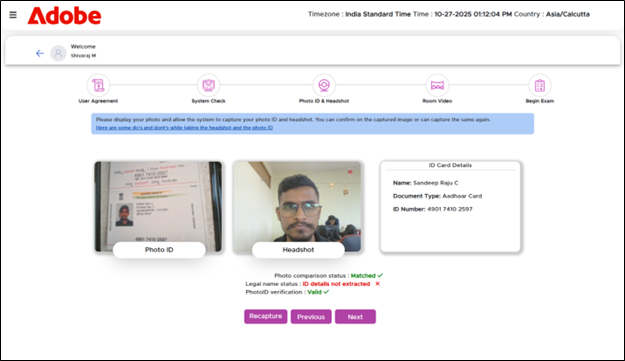
-
The verification process includes checks for photo comparison status, legal name status, and photo ID validity.
-
If the headshot does not match the photo ID, the system will display a status of Not Matched.
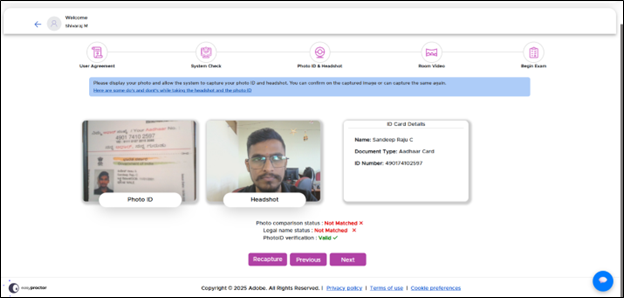
-
It also verifies whether the provided photo ID is valid and whether the legal name matches the ID.
-
If any of these checks fail, you can retake the photo ID and headshot by clicking the Recapture button.

|
You have up to three attempts to recapture your photo ID, but only one attempt is allowed to capture your headshot. Please ensure both are clear and accurate before proceeding. |
-
To proceed, click the Next button to navigate to the Room Video capture screen.
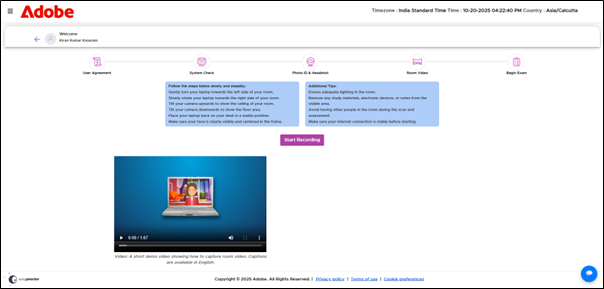
-
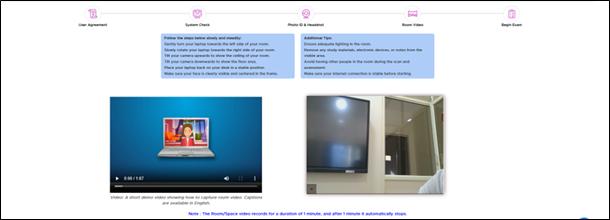
For ensuring secure and fair test-taking, the system will capture the video of your room. This helps the proctor to understand the environment of the candidate. You need to rotate your system to capture the room space.
-
The system will automatically start capturing the video of your room for 1 minute and after 1 minute, the video capturing will end automatically.
-
Once the video is captured, the screen displays the inline message as Room video is captured, click on Next button to proceed further.
Proctor-Controlled Pause Enabled for Pre-Approved Accommodations